
Should I Change My Own Oil?
How to change your own oil for free and save between $50 to $100 on each oil change!
Provoking Thought:
Should I Change My Own Oil?
The short answer is: It really depends on these two factors:
- Do you have the time?
- Do you have the resources? (tools and place to do it)
Are you willing to invest 30-60 minutes to do it yourself? Or is your time better spent on something else?
This can save you a cool $50 and up and as you will see below, this will answer the question of… should I change my own oil?
Before you get down and dirty, let’s talk about tools.
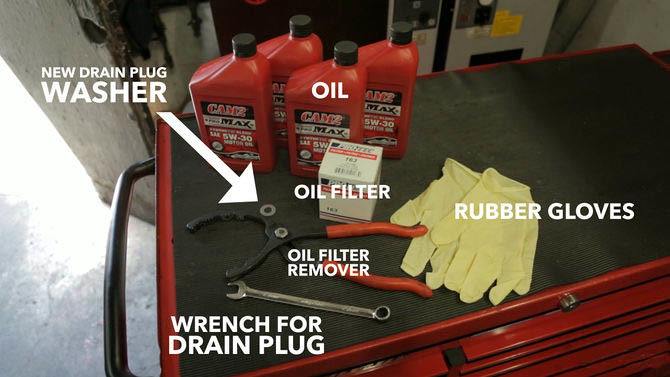
Tools needed:
- Wheel chalk/blocks (optional) – Immobilize your car in order for it to not drop off the jack and potentially cause injuries.
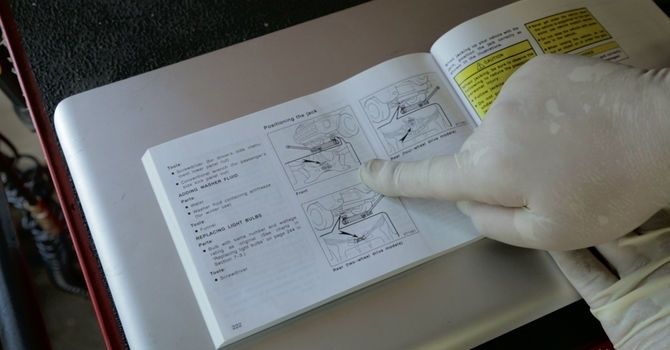
- Owner’s manual (recommended) – This manual is the best place to get information regarding your car (what oil is required, where are the jacking spots, manufacturer specific instructions)
- Jack – as you guessed it, to get your car or truck up off the ground unless it’s a taller SUV or 4X4.
- Jack stands (optional) – sometimes extra support points are great when you car is in the air + it makes it safer to work under.
- Oil recovery pan (drain pan) – Best to check your manual and make sure the recovery pan has a greater capacity than you have oil in your engine. Also, spend the extra $5 and get a decent drain pan that you can pour from into a recycling jug without spilling it all over the place.
- Wrench for the drain plug (box end or socket) – Have the proper size for this one.
- Oil filter remover – Anymore, this is not a one-size fits all type of tool.
- Rubber gloves
- Funnel (optional) – But recommended.
- Green eco-friendly oil absorbent (optional) – Avoid making a mess by having one of these on hand in case you get any oil spilled on the ground.
Supplies needed:
- Oil – Check the owner’s manual for the oil type recommended and the correct weight or viscosity.
- Quality Oil Filter – Purchase a well known quality brand such as Wix or NAPA.
- New drain plug washer – You may or may not need this for sure. If in doubt, replace yours with a new one.
- Oil additive (recommended but watch out for the chlorinated paraffin additives.)
Best capture for used oil:
- Get your above mentioned drain pan ready. If it has a vent, be sure to open the vent before draining so that it will fill properly.
- An empty 5 quart oil jug and any additional empty jugs as required for recycling drop off at a nearby used oil center. Walmart and others take used oil no charge.
One of the cheapest and easiest ways to keep your car running like new is to change the engine oil regularly and on schedule. It is better to change it before it’s actually due vs. waiting and putting it off. You can actually void a manufacturers warranty by not having the oil & filter changed on schedule. If you were to have a problem with your engine and its internal parts, one of the very first things they will be checking is to see that you were diligent about having this done. No problem doing it yourself, just save your receipts and write down when you serviced your vehicle.
Depending on your vehicle, driving style and conditions in which you drive the most will determine when you change your oil. Many newer vehicles have ‘variable’ oil change intervals based upon miles and other factors. Go with that if you have this feature on your vehicle. If you don’t then go with what your owners manual says as the recommended schedule. Lastly, if all else fails, then you can safely go 6 months or 6,000 miles between changes unless you drive in very severe conditions. The old 3 months or 3,000 miles recommendation is a thing of the past and really a waste of money, time and resources.
After you checked and decided to get the engine oil changing project started. Get ready!
First of all you need to go shopping for all the supplies (review above and best to check your owner’s manual for any special requirements) and make sure you have all the needed tools (or something similar to improvise with) before you get started on your work. While doing all of this the first time you change oil will take longer, you will be able to do it a second time much faster if you keep your tools in an organized fashion and everything ready for the next time.
Important: See if your manual calls out specific oil requirements as defined by the American Petroleum Institute (API) and the International Lubricant Standardization Approval Committee (ILSAC).
You will surely need one of these types of oils in the recommended viscosity (0W20, 5W30, 10W30, 15W40 etc.):
- Premium Conventional
- Full Synthetic
- Synthetic Blend
- Higher Mileage
Let’s go through this operation, step by step:
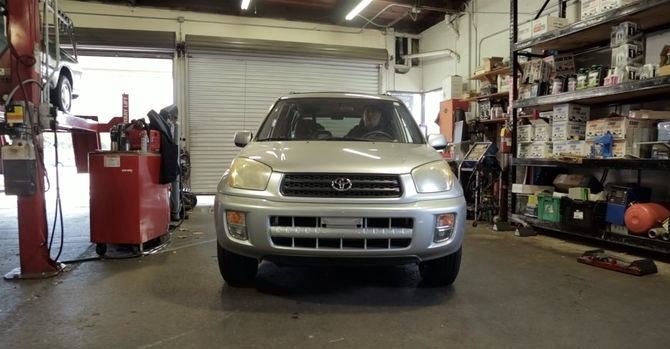
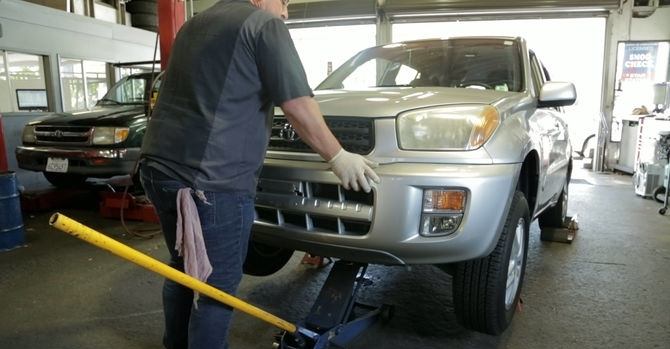
- Bring the car into a space with level ground and enough space around to work. (Let the car idle for a few minutes to get the oil to warm up)
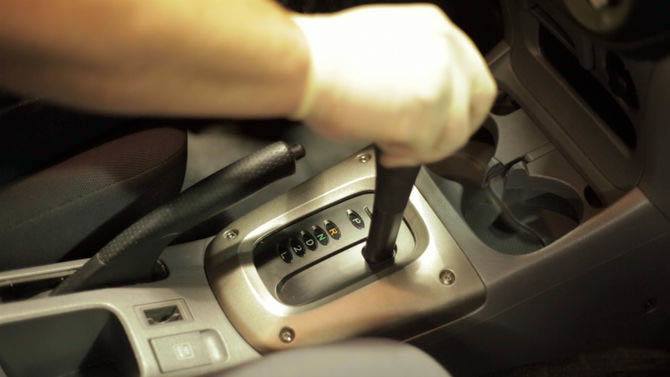
- Apply the parking brake and place your car in Park (or first gear if manual) + (optional) Install wheel chalk/blocks to restrain tires.
- Jack the car up (using the jacking points described in your owner’s manual) + optional : add jack stands to make it less likely to fall down from the primary jack
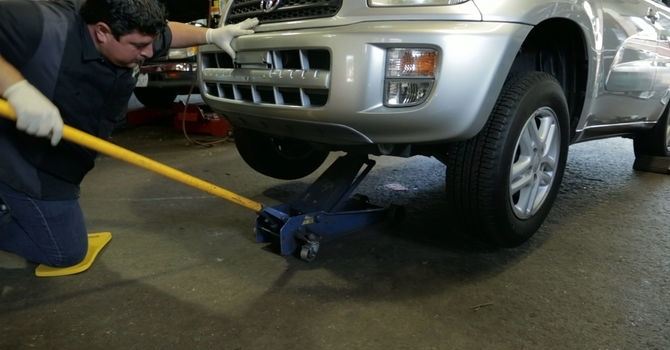
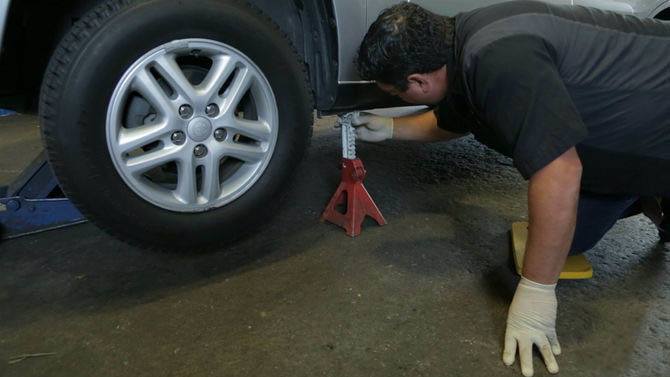
- Rock, apply force and make sure that the vehicle is secure. (You don’t want it to fall on you while you’re underneath changing the oil)
- Remove the oil cap (open the hood and locate the engine top oil cap) then place the oil recovery pan beneath.

- If needed, let the engine cool down a few minutes before the next step. (Exhaust components cool down slower and can cause burns if they are not cold to the touch)
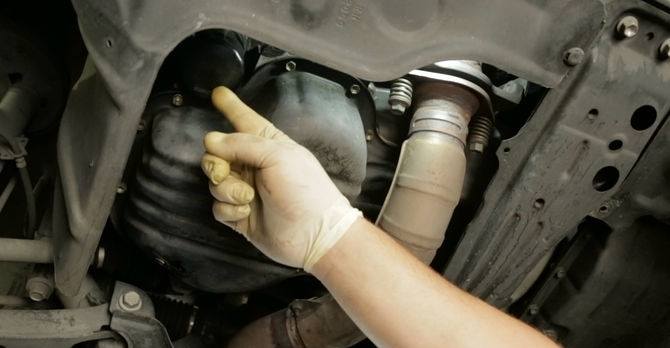
- Identify the location of :
a) the oil pan ;
b) engine drain plug ;
c) the oil filter
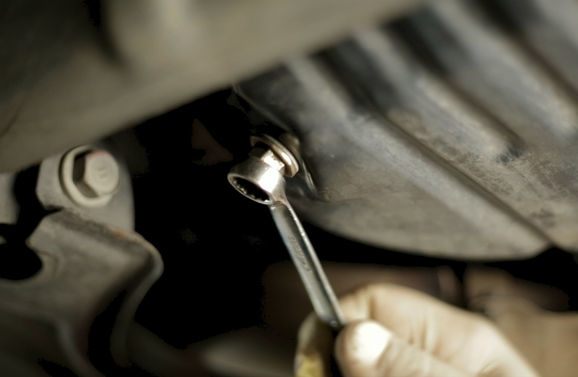
* if needed, take off the undercover: Some cars have aerodynamic covers that help improve fuel economy and keep things clean. Some cars need to have the undercover removed completely in order to gain access and some have special access latches which are usually labeled) - Check if the oil pan is somewhere below and towards the front of the drain plug and adjust. Use a box end/socket wrench to open the oil drain plug and by applying inward force (pushing in) unscrew the drain plug totally and let the warm oil flow out.
- Check the washer on the oil drain plug (make sure the old one is not stuck to the engine’s oil pan and decide if it needs changing.)
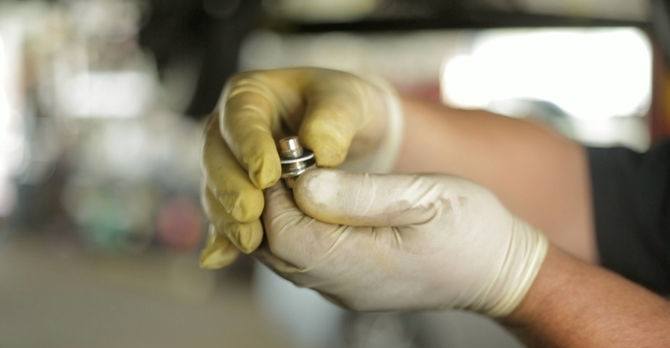 * note: Some cars have a permanent O-ring instead of a classic washer and don’t need to be changed often.
 - If the oil filter is next to the drain plug and under the oil pan, proceed to remove it. (if the oil filter is farther, you can reinstall the drain plug and re-adjust the pan).
- Take your oil filter remover and get a good grip on the filter. (Get the filter moving a bit then take off the wrench and continue unscrewing by hand, slowly in order to control the flow of oil that will come out).
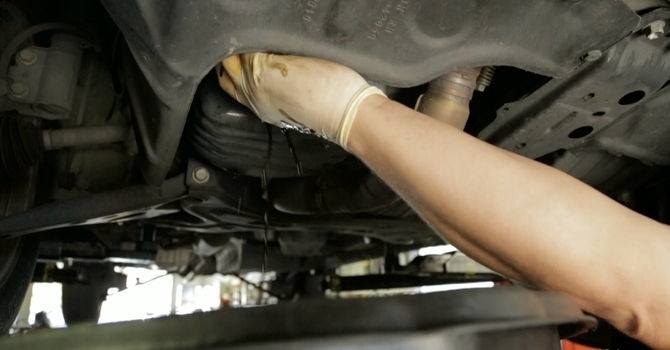
*Tip: You can use a nail to puncture the filter in order to get most of the oil out so when you unscrew you won’t have to worry much about the oil flow, however do not do this on canister type filters.
Part 1 explains how to get started from scratch and finish 50% of the job. Easy and cheap, even though it sounds like a lot of preparation and steps.
Stay tuned for part 2 where we will finish the oil change and let you in on a little secret to keep the car running like new for a long, long time!
Got some questions… get up to speed and check out our FAQ here: http://boostperformanceproducts.com/faq
Check out our new Customer Loyalty & Rewards program here: http://boostperformanceproducts.com/rewards

About the Author
Tech Guy
Automotive enthusiast, passionate about Jeeps, hot-rods, turbos, performance, efficiency, diesels, fuels, high performance oils, additives and anything with an engine.